
In early April, 1982, Argentina invaded the Falkland Islands, a few desolate rocks in the South Atlantic. The British mobilized their fleet, sending it south by way of Ascension Island. On the 25th, a force retook South Georgia, a even smaller and more desolate island that Argentina had also captured, while the main task force closed in on the Falklands.1
Even as the echoes of the Black Buck Raid were fading, the carriers were preparing to go into action with a coordinated raid on Port Stanley and Goose Green, a secondary Argentine base. First over the target were a pair of Sea Harriers from Invincible flying CAP.2 They had the secondary responsibility of getting photos of the damage to the runway before withdrawing to patrol altitude.3
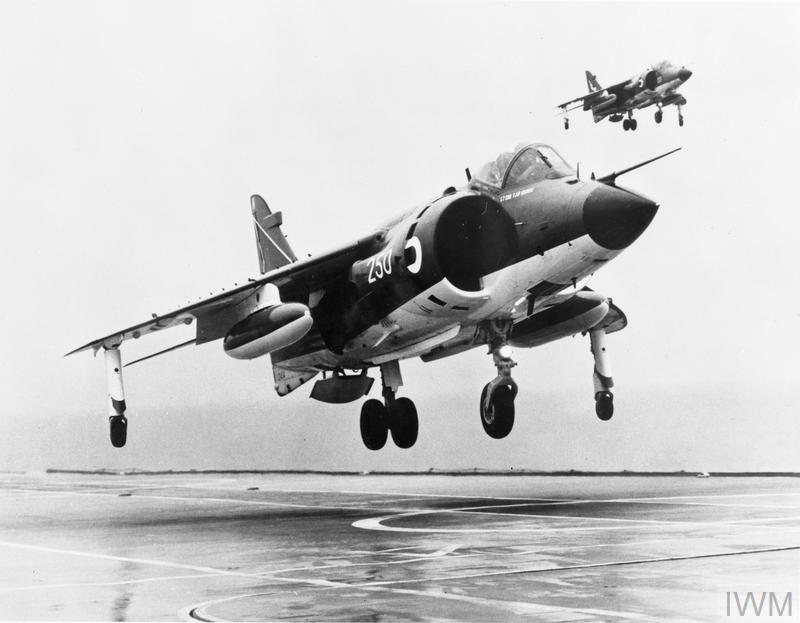
Sea Harriers operating from Invincible
A few minutes later, the first Sea Harriers took off from Hermes. Nine aircraft were aimed at Stanley, while the other three were to attack the Pucaras at Goose Green. The Stanley aircraft had been airborne only ten minutes when the first formation launched their bombs, four of them tossing a salvo of airbursting 1000-pounders onto the known defensive positions. With the defenders' heads hopefully kept down, the other five roared over the airfield at 200' or less, sewing a mix of cluster and retarded bombs. Aircraft and buildings suffered damage, but the retarded bombs failed to penetrate the runway. The defenders greeted them with missiles and gunfire, but only scored a single hit, with a 20mm round punching a hole in the vertical stabilizer of the last Harrier in the formation. All of them were recovered safely, and even the damaged aircraft was operational again by the end of the day.
The strike on Goose Green encountered even less opposition, as the strike there caught the defenders unaware. The damage caused to the runway was easily repaired, but one of the cluster bombs caught a Pucara taxiing for takeoff. The pilot was killed and the aircraft destroyed, although Argentine propaganda claimed that he'd been killed in a solo attack on Hermes that set the carrier on fire.4
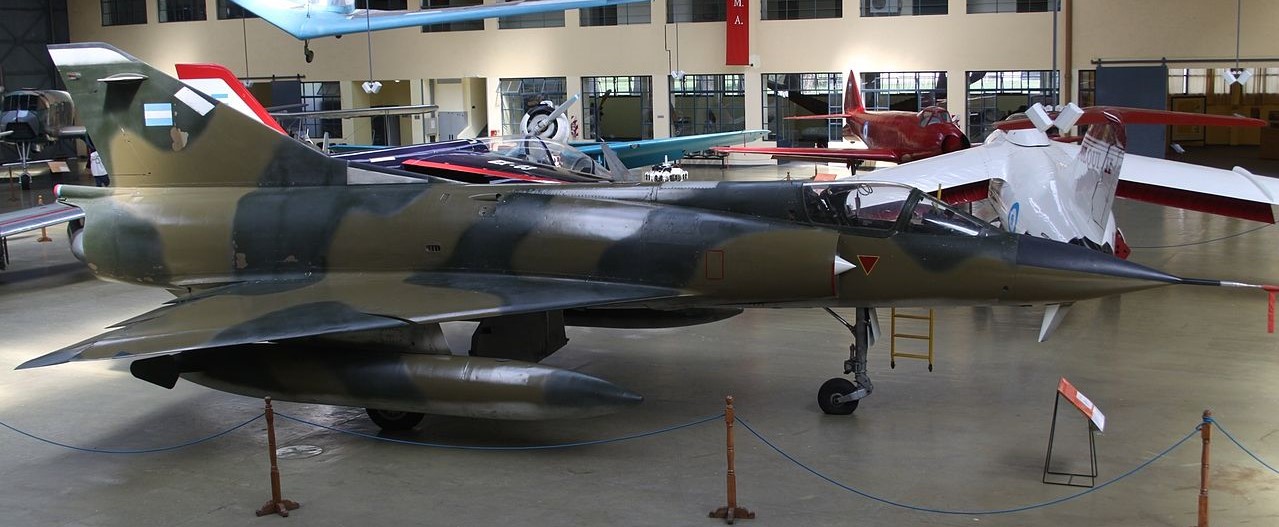
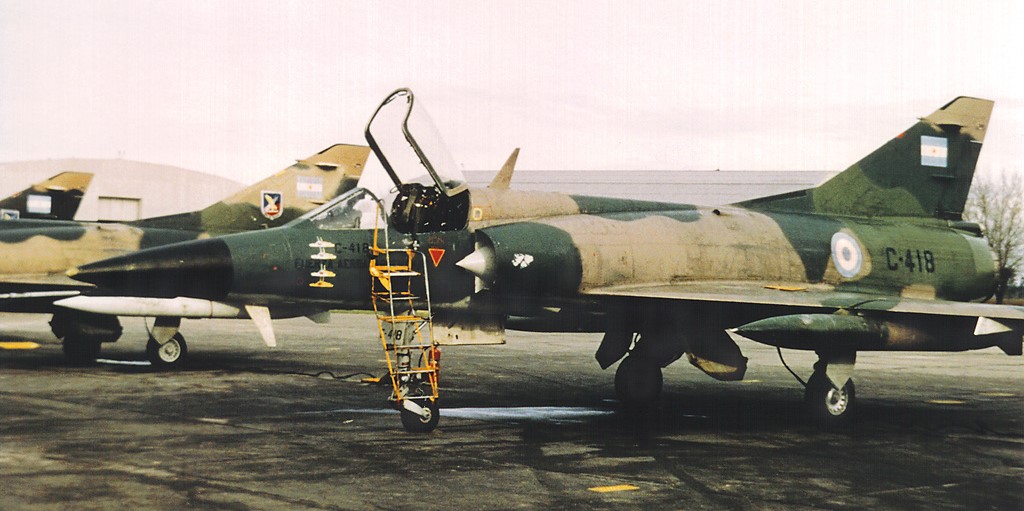
An Argentine Mirage III
As the aircraft were returning to Hermes, the fleet's radar picked up a pair of contacts inbound from the mainland and vectored the CAP to intercept. The enemy aircraft, a pair of Mirage IIIs, came in at 35,000 ft, 20,000 ft above the Harriers, then dove on the British fighters. They were also under ground control, that of VYCA-2 at Stanley. The Argentine pilots fired their missiles, but claimed no hits before breaking contact. Even the pair of 1,700 liter drop tanks carried gave the French-built fighters only 12 minutes for combat at high altitude or 5 low down.
At about this point, Admiral Woodward detached some of his escorts for other tasks. Glamorgan, Alacrity and Arrow were sent to bombard Stanley with their 4.5" guns, while Brilliant and Yarmouth hunted the submarine San Luis, detected by signals intelligence, with the aid of Sea Kings from the carriers. San Luis picked them up and launched a torpedo attack, but it failed due to fire-control problems. However, the British failed to detect this, and never got close to the submarine before returning to the carriers at nightfall.

US Navy T-34 Turbo-Mentor
The next action occurred a few hours later. The CAP was vectored in on a radar contact which turned out to be Turbo-Mentor trainers attempting to attack the warships. The two Harriers intercepted them and sent them running for home, but the danger of a mid-air collision in the clouds meant that the British broke off before scoring any kills. These aircraft were then sent after a pair of Mirages coming in from the mainland. They attempted to lure the Argentine fighters down to low altitude, where they would have a major advantage, but the enemy didn't take the bait and instead fired a few missiles from well out of range, then turned back for their bases.
By this point, VYCA-2 had managed to get a pretty good idea of the location of the carrier group by monitoring air activity over the task force. A total of 46 sorties were launched from the mainland, and while many failed to find targets, some began to arrive over the islands by the late afternoon.
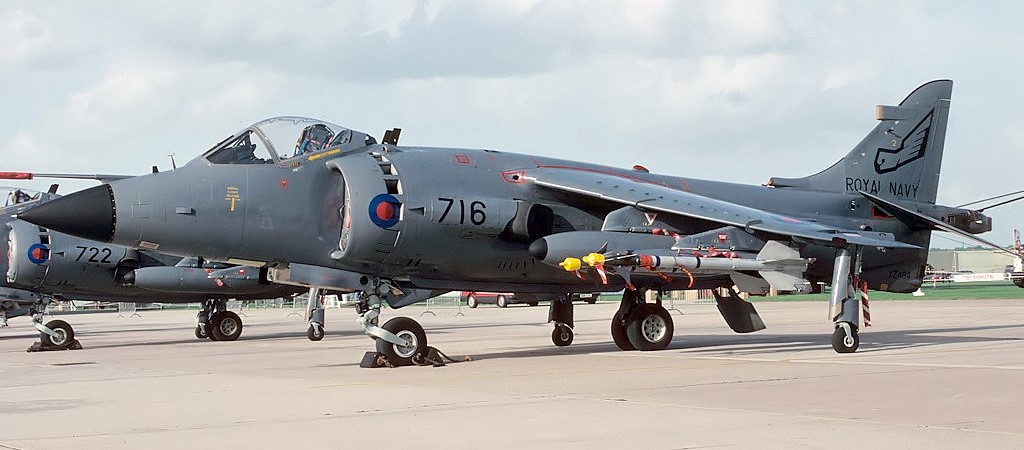
A Sea Harrier carrying Sidewinder missiles under the wing
The first encounter was between a pair of Harriers from Invincible and yet another group of Mirages. These Mirages approached at 15,000 ft, ideal altitude for the Harriers, and with the wingman in a position that prevented him from firing heat-seeking missiles due to fear of hitting the leader. The Mirage had a theoretical advantage in a head-on engagement, as it carried the radar-homing R.530 missile, which didn't have to see the target's exhaust. In practice, the AIM-9L Sidewinders carried by the Harriers were the first IR missiles able to home in from ahead of their target, and proved much more effective than the French-supplied weapons the Argentinians used. Both Mirages fired their R.530s, but one failed to launch, and the other missed entirely. The British split up, one continuing the head-to-head, the other swinging around behind them. The second fighter, piloted by Flight Lieutenant Paul Barton, was successful, firing a Sidewinder into the second Mirage. That missile guided true, and shredded the aft end of the Argentine fighter. The pilot, Lieutenant Carlos Perona, ejected safely, and landed in water shallow enough he was able to walk ashore on West Falkland. The other Harrier managed to turn around and launch on the lead Mirage, which ducked into a cloud before they could see if the missile hit.
What happened next is something that is depressingly common in war, even though it's often not discussed. The Sidewinder detonated close to the Mirage, leaving it airborne, but badly damaged and streaming fuel. The pilot, Garcia Cuerva, turned for Stanley, hoping to land his wounded jet. As he approached, his airplane was misidentified, and he was shot down by Argentinian AA guns, costing him his life.
An Argentine Dagger
While the Harriers were fighting the Mirages, more Argentine aircraft were coming in to attack, flying low under British radar.5 Glamorgan, Alacrity and Arrow had just wrapped up their bombardment of Port Stanley, which did minor damage to the airport facilities,6 when they came under air attack. A trio of Daggers swept in, taking them completely by surprise. Only a few bursts of small-caliber fire greeted the attackers, but they did comparatively minor damage. Only one British sailor was wounded, and a few hull plates were dished in by the 1,000 pound bombs exploding nearby.
Two more Daggers, flying as fighter cover, pounced on the pair of Harriers flying CAP from Hermes. Two IR-homing Shafrir missiles were fired at one Harrier, which promptly dived out of the fight, gaining enough speed to outrun them. The Dagger pilots didn't see the other Harrier and turned away, giving the pilot a perfect shot, if one at rather long range. The missile flew true, and the Dagger and its pilot fell in a cloud of fire.
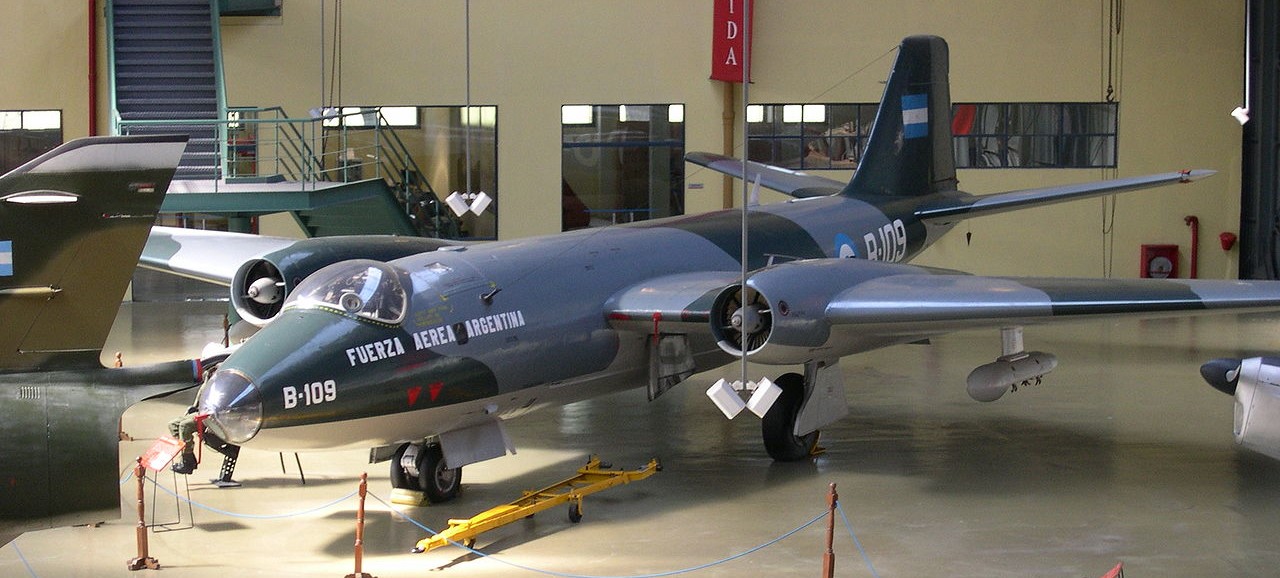
Canberra of the Argentinian Air Force
As night fell, another pair of Harriers was vectored onto a trio of Canberra bombers well out from the Task Force. They approached undetected, and a Sidewinder bagged a fourth aircraft for the Fleet Air Arm, while the other two broke for home. That was the final action of the very busy first day for the British in the Falklands, although the Argentine air arm made a final attack at about the same time on one of their own blockade runners. Three Skyhawks bombed the cargo ship Formosa, hitting with two bombs. However, as was to become the pattern in the upcoming days and weeks, neither bomb detonated on impact. One skipped off, while the other came to rest without exploding. The evening's activities were finished off by Sea Kings, shuttling ashore SAS reconnaissance teams. The fear of raids by these teams tied down a full regiment in Stanley, making the later ground campaign significantly easier.
Ultimately, the air campaign was decided in the 13 minutes between Burton firing his missile and the Dagger's death. The British had inflicted three casualties at no cost to themselves, two of them to the vital Mirage force that provided Argentina's only night/all-weather air defense. The risk of a repeat of Black Buck, except on Buenos Aires,7 was too great for Argentina to risk the remaining 10 fighters trying to wear down the British forces.8 Their air forces would be back, but only in hit-and-run raids.
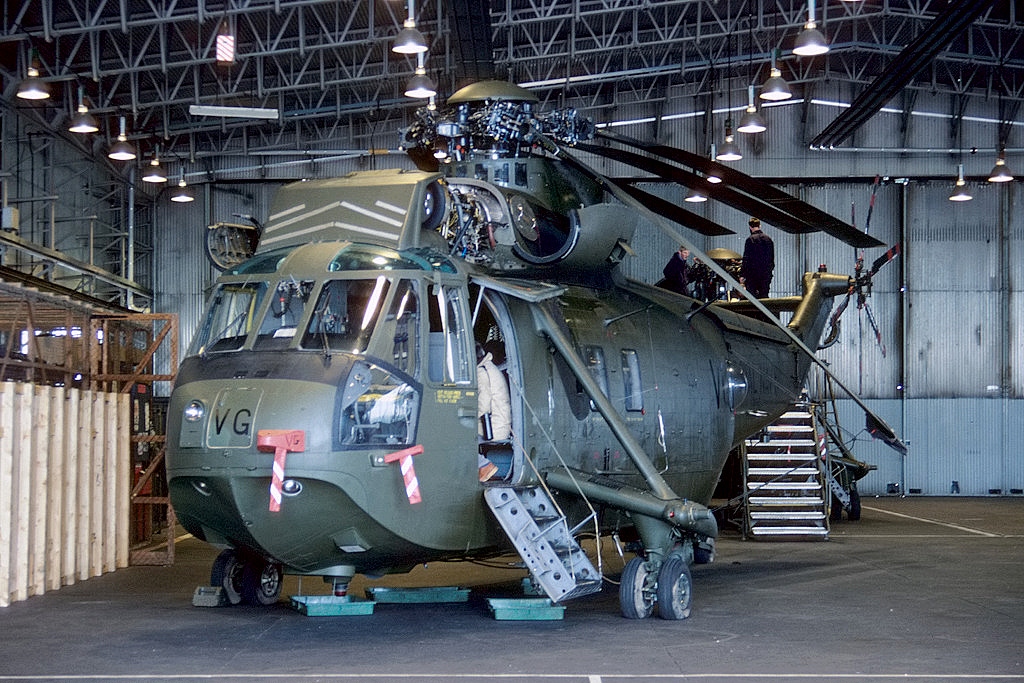
Westland Sea King
But the air forces were not the only threat to the British. The Argentine navy was at sea, and May 2nd would see Admiral Woodward having to face the threat of both air and surface attack.
1 I've written a glossary to make it easier to keep track of terms in this series, and the full list of posts is here. ⇑
2 Combat Air Patrol, intended to screen against any interference by other aircraft. ⇑
3 I've written a glossary to make it easier to keep track of terms in this series, and the full list of posts is here. ⇑
4 Six ground crew were also killed in this attack. ⇑
5 It's worth pointing out that Argentina had a very good understanding of the performance of British radar, thanks to their two Type 42 destroyers. ⇑
6 This bombardment had an effect out of all proportion to its actual effectiveness. It killed any chance that the airfield would be used for refueling fast jets, as the risk of some of Argentina's limited stock of these airplanes getting caught in a bombardment was too high. There was also the major concern that the airstrip was only suitable for operations when dry and without a crosswind, conditions often absent in the Falklands. ⇑
7 This possibility was officially disavowed by the British, but was apparently still a serious factor in Argentine thinking. ⇑
8 There was also the inevitable overcounting of damage and kills from the ground defenses. If they had actually made that many kills, it would have made a huge dent in the British force. ⇑
Comments
Was this the raid where BBC correspondent Brian Hanrahan famously said "I'm not allowed to say how many planes joined the raid, but I counted them all out, and I counted them all back"?
It was indeed. That was a detail I left out for length.
What were those Turbo-Mentors planning to do? Did they have bombs or missles retrofitted on?
Most military-grade trainers have a secondary light-attack role, and fittings for a couple of 500-lb bombs. Those could do serious damage to a frigate or destroyer, and the British lost several ships to bombs of that size dropped from fast jets. Getting close to the target was an issue, as they were easy meat for anyone with a SAM who was paying attention.